It all started when my eldest daughter wanted a dollhouse and I offered to make her one. I had built one before, when she was smaller, but it was pretty basic. It was made of thin cardboard and was unfurnished. She had very little interest in dolls and their houses at that time. My younger one played with it, but it did not have a chance of lasting _ flimsy as it was _ in the hands of a toddler.
So, I thought now was my opportunity to improve on dollhouse design, and go the whole nine yards. This one is going to be for barbie-sized dolls and is going to be fully furnished. I am utilizing all available resources and skills at my disposal. At the moment of writing this post, I am about 65% done and it is coming together nicely. Not a masterpiece, but good enough for a child's dollhouse.
As for the materials, it is being constructed out of cardboard, popsicle sticks, paper and hot glue being the other essential components. Before actually starting the construction, I measured out the area where it is supposed to go, and calculated the dimensions of the whole thing, as well as the different rooms. I had a basic plan in my head and after a few youtube videos, and lots of inspiration from pinterest, I was good to go.
Now for some action shots, I started with a sturdy double cardboard base and then put up the walls. I wallpapered them at the same time.
These first windows were very tricky. Initially I tried bamboo sticks to make the window frames but those did not hold well. Later, I ripped them out and used the popsicle sticks. (These popsicle sticks must be the unsung heroes of the paper craft world. I feel sorry that I discovered them so late. And they are very inexpensive too.) At this point, the kids informed me that the dolls must have a staircase to get to the upper floor. To maximise room space, I attempted a spiral staircase. My skills were very rusty at that point and it is not very neat but I covered it in tape and it became satisfactory.

Next, I put a wooden floor in the living room, with the popsicle sticks. Because I ran out of paper for a wall, that wall got some wooden panelling. It was at this point that the actual magnitude of the project hit me. It was going to take me a few montns, at least, to get this done. Since then, I have been tackling it, one task at a time, and that has worked really well. Back to the living room, you can see the new window panes. The staircase fit best in the kitchen/ dining area, so it went there.
After sanding the floor ( that aiming-for-the-whole-nine-yards thing), I painted it with a mix of water colors and acrylic colors. I did not have a brown color then, and had to mix up red, blue and black. This shows in the color variation on the floor. It was such a relief when I actually got a brown, that I am OK with the vareigated look.
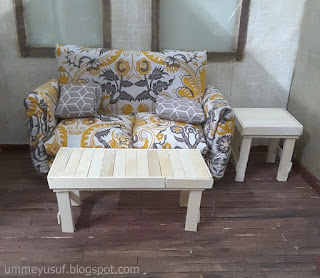
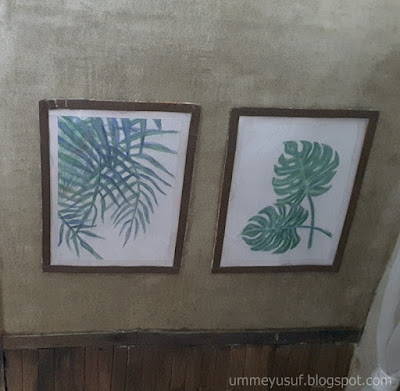
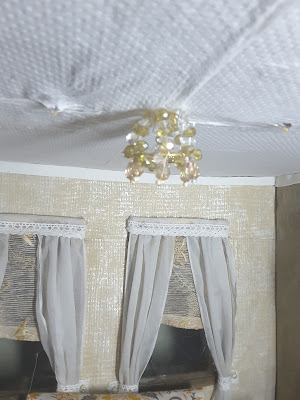
In the next post, inshaAllah, some more details from the living room, including curtains, wall art and furniture.


