The dollhouse was finally finished last month. It took me fourteen months of off and on work to get it done. And it was the most exciting and enjoyable experience. It got a lot of appreciation from family, friends and strangers, which was very gratifying too. Here is the grand tour of the completed dollhouse for my blog.
This is the front of the house, which is detachable. The brick and stone detailing is all egg-carton painted and cut into form. The door and window panes are out of popsicle sticks.
The larger plants are from craft store while I made the flowers for the window boxes out of air-dry clay. These are detachable and the girls can rearrange them according to their preference.
My father-in-law made me the awesome hinges for the door. I fashioned the lock from my jewelry making supplies.
The night view.
The right side of the house is simply wall with some windows. Same goes for the back.
The left side of the housed is more interesting with a balcony and a chimney below it, which houses the batteries for the house lights.
This is the front of the house, detached.
And its inner view.
Coming to the interior of the house, it has a living room and a kitchen on the ground floor and the bedroom and the washroom on the top floor.
The circular staircase leads up from the kitchen to the bedroom.
I probably blogged about the living room earlier, but here it is again in its completed state.
All the furnishing were made from scratch, except for the flower on the side table which is actually an eraser and has been placed by my daughter as an accent piece.
The sofa turned out just perfect but as I was just starting when I put together this living room, the curtains and wood paneling are not very finely done.
The doorway leading into the kitchen. Again the stairs are a bit crude, them too being an earlier construction.
This is one of the cutest corners of the house. The dining set is simple and sturdy and the curtains tie together the look. I added the picture frame and the clock as last-minute details.
The kitchen cabinents, sink and stove were all custom-made to fit into the available space. The shelf doors are a bit wonky (again the learning curve thing)but they do open, as do the shelves under the sink, the oven and the drawers.
There is the frigde tucked into the conrner. It was a tricky piece to make.
Moving onto the top floor, here is the balcony. This is another one of my favorite parts of the house. It has large-sliding doors which lead into the bedroom. I thought it would be cool to have the vine climbing around to the side wall from the front.
I made a lounging chair for the balcony,
...and a laundry rack. Both are made of popsicle sticks and are foldable.
Interior view from the balcony.
The bedroom still need a rug and I might crochet one some day.
The bunk bed was a requested piece and the one which made me realize just how tall the barbie dolls are. It also made me revise the house master plan and construct a dormer window, as I did not want the barbie bumping her head against the low ceiling.
The wardrobe with sliding doors was also a requested piece but it has proven to be inadequate to accommodate the barbies' expanding wardrobe. We might have to add some more storage soon.
The dressing table corner is another cute one. It leads to the bathroom.
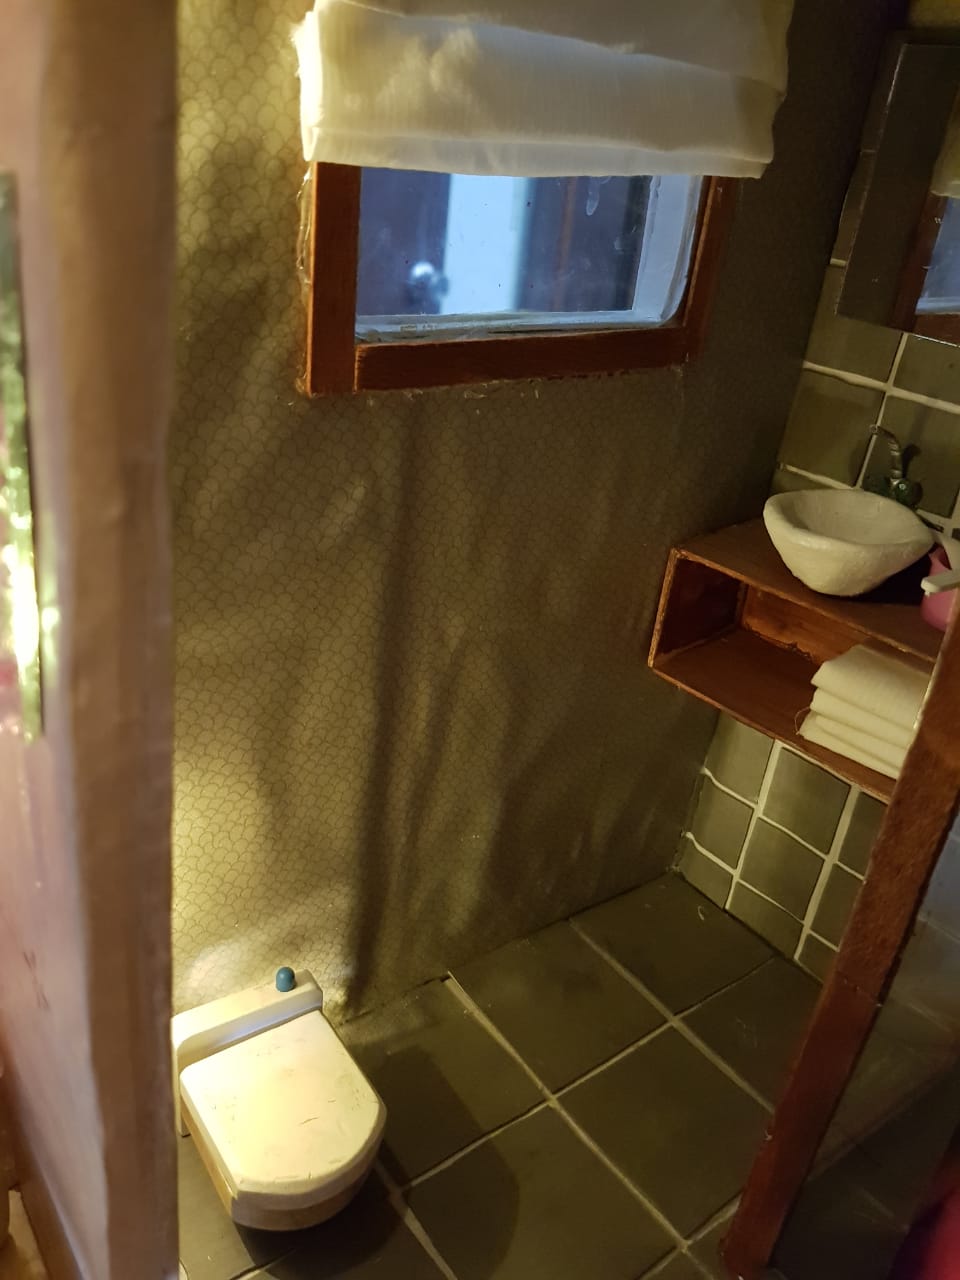
Of course the dollhouse MUST have a fully detailed bathroom, no matter that most of it is hidden behind a curtain (which is also a MUST, a doll needs its privacy).
This concludes the very picture-intensive dollhouse tour. Hope you enjoyed it as much as I enjoyed making and sharing this project.